Tuesday, April 26, 2011

How to make a meatball

Promises and pie crusts are made to be broken.
—Jonathan Swift

Not around here they ain't. I promised some people meatballs (you know who you are and why) and meatballs I am delivering.


To make a good meatball you must first prepare your sauce (aka gravy). Why? Because the sauce is what the meatballs are cooked in. At least mine are.

I never make a Red Sauce exactly the same way twice, but there are three ingredients that are always in there: plenty of extra virgin olive oil, garlic and pork. The pork (often a mixture of ribs and sausage, though here just the ribs) is browned so as to render some of its fat, then removed until the tomatoes go in. The dark spots you see here? Anchovies. I use them sometimes. Even if you wind up not tasting them, when they're in there I find I need to use less salt.


I won't go through the whole red sauce-making ritual, but just so's you know what else went into this particular one before the tomatoes, pork and meatballs did: You've got your onions, your celery, some diced prosciutto, salt and pepper, and carrots for a little sweetness (some people use sugar, but this has always seemed a better method to me).


I always make my meatballs the same way—and always make them while the sauce is cooking. (I am not unique in this way, as generations of my people walked this same path.) The ground meat you see here is two-thirds veal, one third beef. I know. Where's the pork? It's in the gravy, not the meatballs.


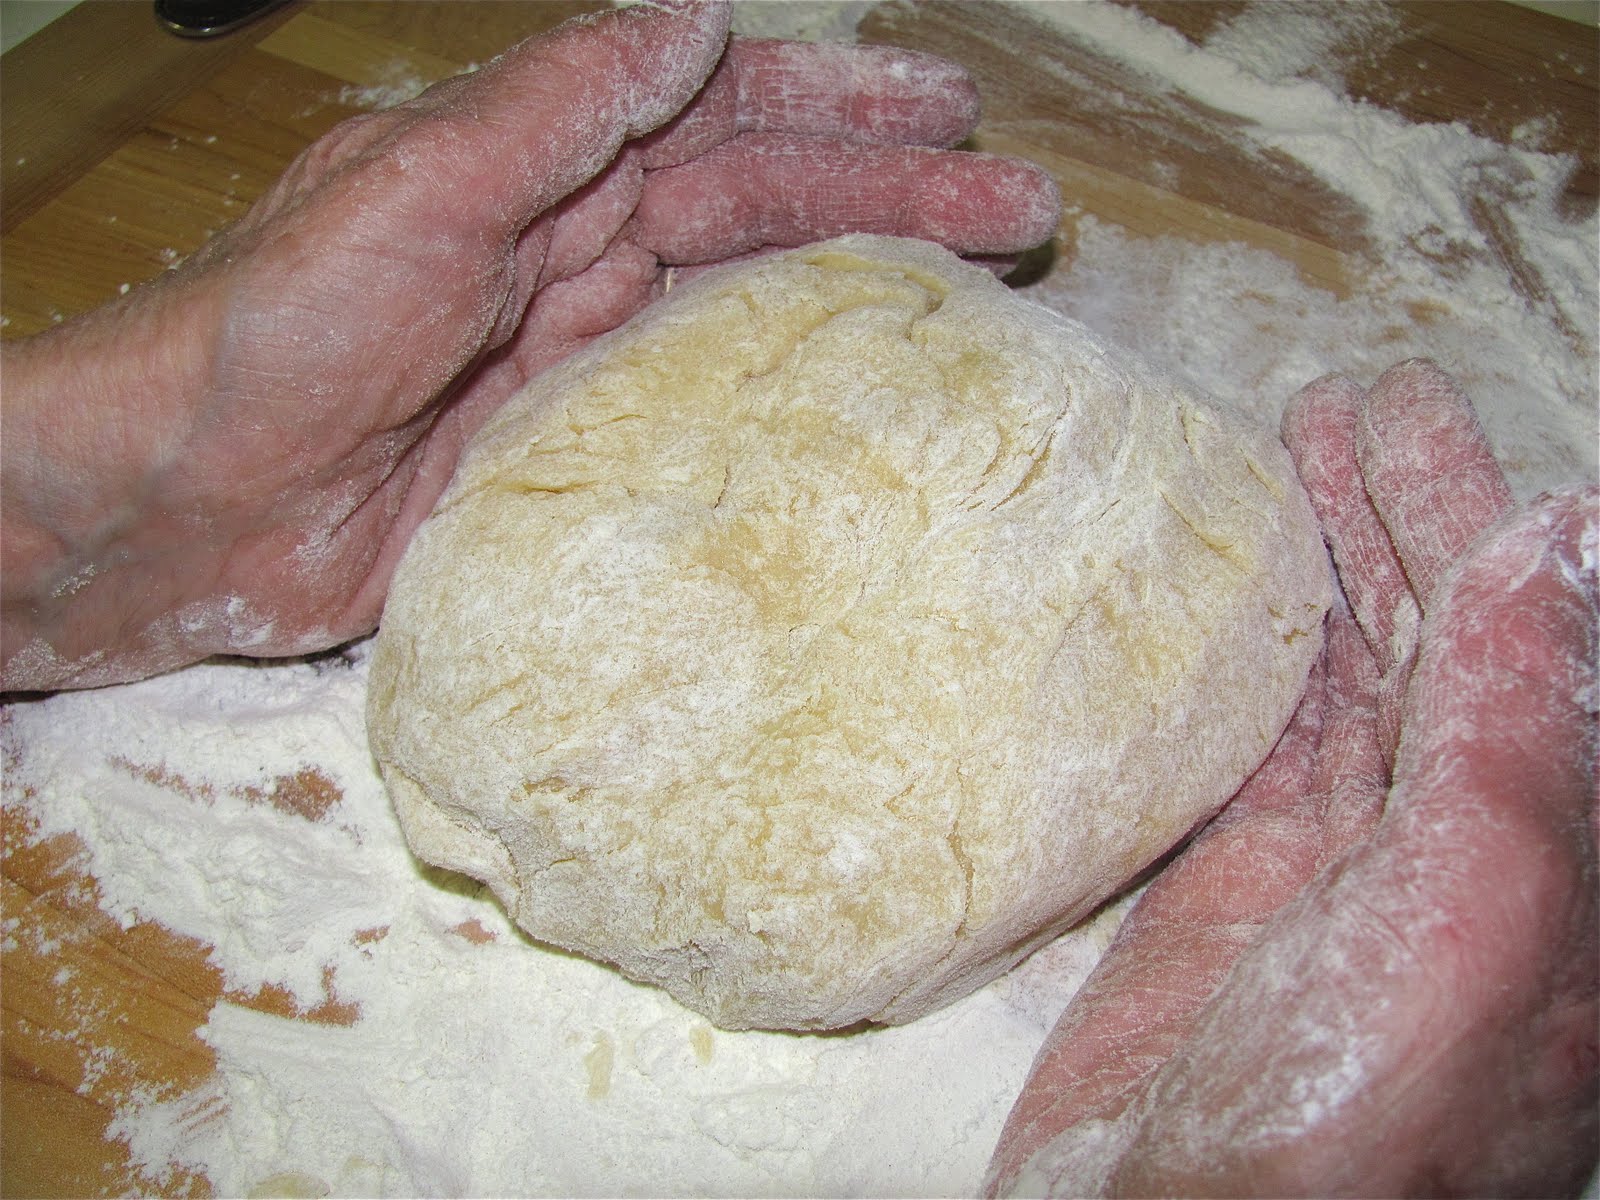
A loaf of bread, an open faucet. More crucial elements to a good meatball you will not find.

I do not use breadcrumbs. Never have. I soak a loaf of bread in water, then gently squeeze a lot of the water out and start tearing it apart. As for bread, I usually grab one of those soft loaves that a lot of supermarket bakeries make. The reason I like this bread is because even the crust breaks down when you wet it, and I use the crust. But most any bread will do.


If you click on this pic you will get a better idea what's going on. Look at the ring of meat and notice that the veal and beef has been mixed but only lightly. This is very important. A meatball mix must be handled gently (I only use my hands, by the way, never a utensil). Mix it only as much as it takes for the ingredients to come together, and that's it. Never overwork it. One of the reasons why meatballs can be tough, heavy and way too dense, rather than tender and light, is because they have been worked too hard.

As for the ingredients, this batch is a fairly big one. There are about two pounds of veal, a pound of beef, two eggs, about three-quarters of a loaf of wet bread and a good dose of milk, which I keep adding as needed to keep things moist. The only seasoning I use is Kosher salt and freshly ground black pepper.


Here's another pic worth enlarging. See how moist the mixture is? Just as important, notice that I do not try to get things completely smooth and uniform. If there are hunks of bread in the meatballs, fine, I like bread. It goes back to not overworking. Very important.


Next step is to fry up a small piece of meatball mix to make sure it's seasoned to your liking. With meatballs that are mostly veal you may find it necessary to use a little more salt than if pork was an ingredient.


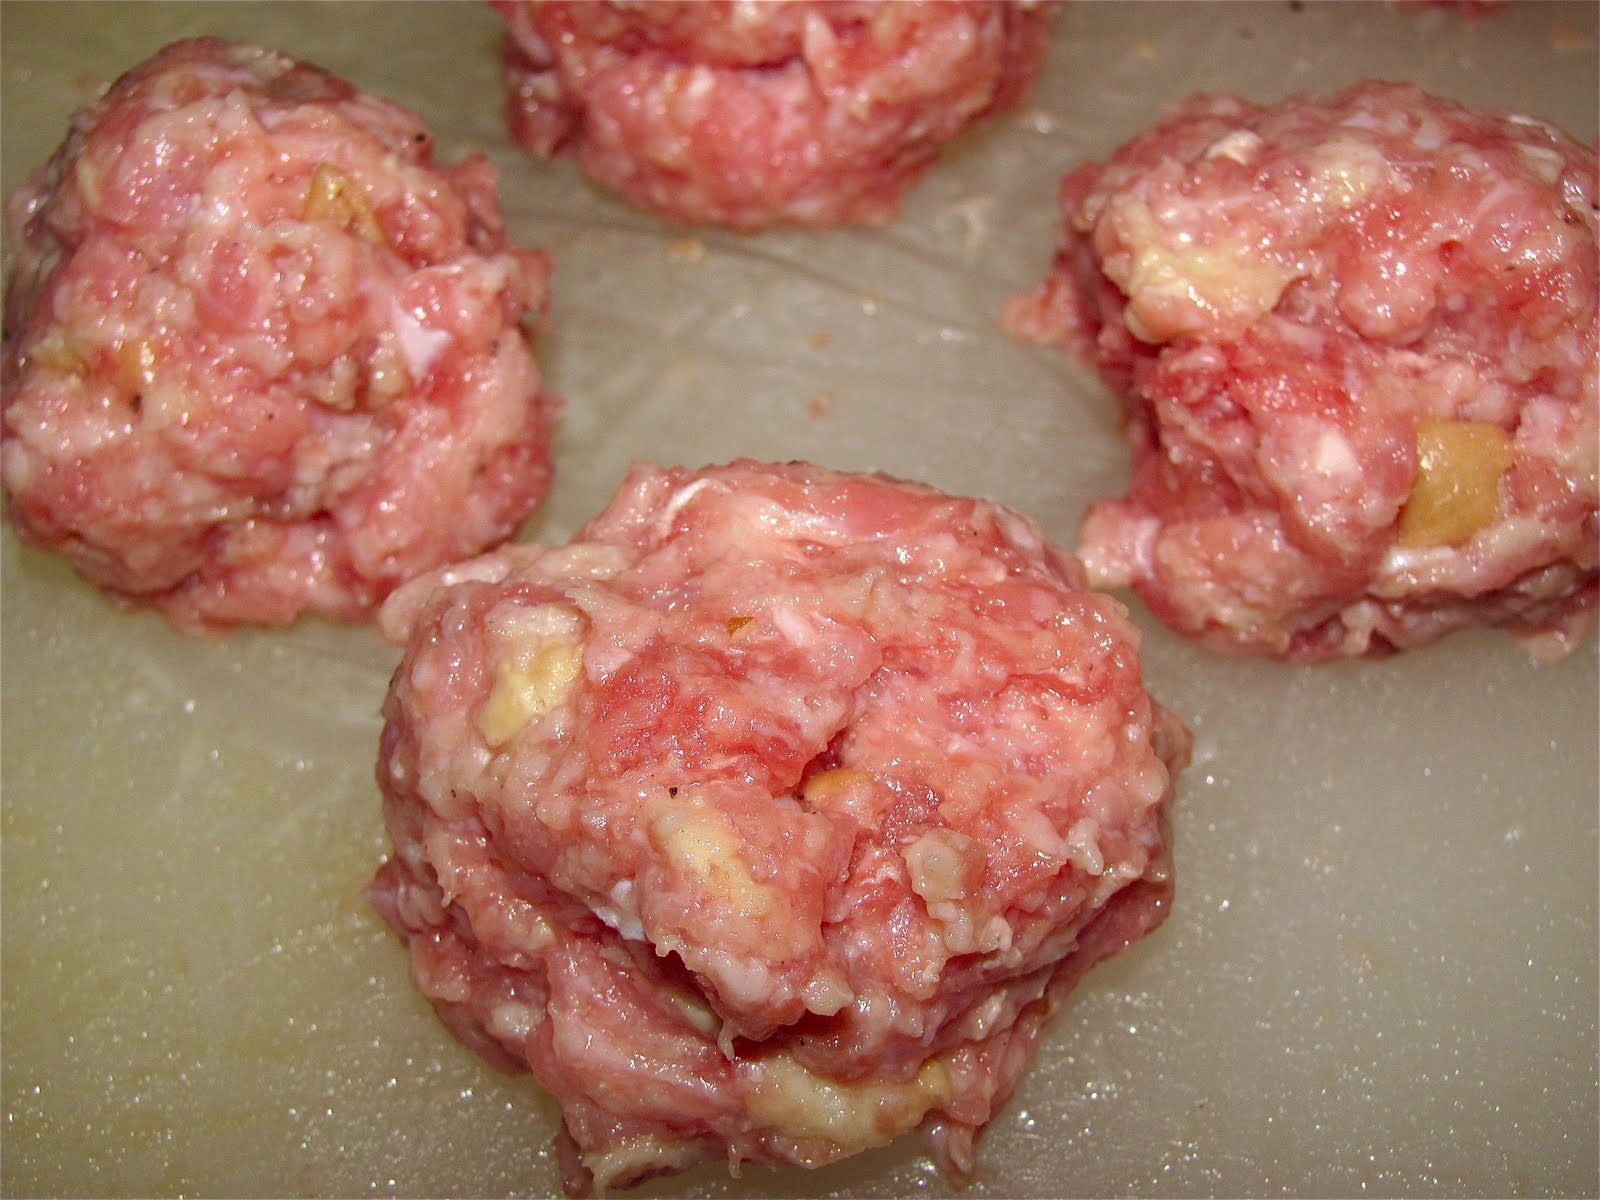
Time to make the balls. Again, don't overwork them here either. Using only one hand, just pinch some mixture from the pile, roll it ever so softly using your fingertips for a couple seconds and that's it; into the olive oil-soaked hot frying pan they go. Don't compress the meat or roll it in your palms or anything like that. Remember, the idea is to keep things nice and loose.


Some people bake their meatballs; I only fry them. But I don't cook them, I only brown them a little. These meatballs are coming out of the pan right now. I know. They're raw. They're supposed to be.


This is how my meatballs look just out of the frying pan.


Here is where they cook all the way through. This sauce is pretty much done already and so the idea now is to simply allow the meatballs to cook in it. But they should never cook at a hard boil. Just keep things at a very gentle simmer, for maybe half an hour. Cooking them this way, I find, keeps the meatballs moist and prevents them from getting stiff.


Moist and juicy. Like so.


Oh, and before I forget. Always make sure to fry at least a few meatballs until they are fully cooked, then set them aside for snacking. You will be happy that you did this, I assure you. Sunday mornings when I was growing up, I woke to the aroma of two things: my mother's gravy and her fried meatballs. To get to the bathroom you had to walk through the kitchen, and so before I'd get to do my business I'd get to taste my mother's meatballs. Two of them, actually. The first was always right out of the plate of cooked meatballs on the stovetop, the second I dipped in the gravy. By the time day was done I'd have put away at least a dozen more. 

Some years ago an associate attempted a numerical calculation of the meatballs I had consumed to that date. Unable to cope with the magnitude of digits in her charge, the project was abandoned, but not before the weight of it took its toll. I have a memory of the poor woman running down Tonnelle Avenue in Jersey City, half naked and screaming, incoherently as best I can determine, about how the giant meatballs and the flying monkeys were conspiring to take over New Jersey, or, at the least, Hudson County. It was a sorrowful ending to an otherwise promising endeavor.

As for my associate, she is still with us. Only, please, do your old pal Meatball a favor and do not under any circumstances show her this post.

There will be more meatballs in it for you. 

I promise.

**********************************
THANK YOU VERY MUCH!
MISTER MEATBALL has been voted Best Food Blog of 2011 by the readers of the Portland Phoenix. I'm really grateful to everybody who voted for the blog. It means a lot, and I thank you all very, very much. Grazie mille! —MM

Reprinted from the Phoenix
Best Food Blog: Mister Meatball
Warning: Do not read the Mister Meatball blog on an empty stomach. You will get more hungry and your stomach may start to growl. The recipes Mister Meatball writes about — many of them Italian or Italian-influenced — are drool-worthy: polenta lasagne with meat sauce, farinata (a breadish thing made with chickpea flour), sesame seed cookies, and octopus salad, just to name a few. Easy-to-use recipes are interspersed with memories of growing up in New York City (he's a Mainer now) and other anecdotes. This is a guy you'd want to invite over for dinner (as long as he cooks).

Wednesday, April 20, 2011

Aunt Anna's Easter grain pie


I know it's a little late in the game to be posting Easter recipes, but I just left Anna's place an hour ago. My aunt does not normally make her "grain pie" four whole days before the holiday, but she did so this time so that her "rotten nephew" could "take his pictures" for "that meatball thing he does."

Careful readers of this blog will know that I would like nothing more than to go on and on about my dear (and colorful) aunt. But time is getting short for those who are planning to bake during these next couple days, and so I will (sadly) get right to the recipe portion of our program.

Easter grain pie is one of only two dessert items on my Top 10 Foods of All Time list (sfogliatelle being the other). The pie's proper name is, well, that depends on whom you ask. The three most common are Pizza di Grano, Torta di Grano or Pastiera di Grano. It is, as best I can determine, a Neopolitan specialty, a notion that bears some weight, as Naples is where my family's roots run.

Like Pizza Rustica (aka "Easter meat pie"), Pizza di Grano is almost never made any time but around Easter. Only twice have I had it outside of this window, both times because I begged and pleaded to my dear friend Beth, Queen of the Bakers, to please, please, please devote a few hours of her busy life to making me one. (That is a troubling pattern I just now noticed, me cajoling women into baking fine pastries for me I mean. Hm.)

Perhaps we ought get to the demonstration. 


Anna's grain pie crust is among the thinnest I have witnessed. It is a fine crust, and here is its beginning. (The full recipe is below.) I asked her the reason behind her method of using room-temperature butter instead of ice cold butter and she smacked me across my head and told me to shut up. (Later she apologized and said that she just does, that's all. I made sure to be standing several feet away when broaching the subject this time.)


The only photograph of my aunt that she will allow me to use is this one. This is the finished dough she is caressing, in case you were wondering.


All rolled out and ready for the filling.


The filling, a mixture of cooked wheat berries, fresh ricotta cheese, eggs, sugar, pastry cream and orange zest.


That's the grain you see poking out of the filling. 


Before it goes into the oven the pie is topped with these cut strips of dough.


I've got prettier pictures of whole slices, but decided to go with this one instead.

A beautiful thing, no?


Easter Grain Pie (Pizza di Grano)
Recipe

For the crust
2 cups all-purpose flour
4 Tbsp sugar
1 stick sweet butter, softened
3 large eggs 
Pour flour out onto a work surface and create a circle in the center. Beat the eggs and sugar together in the circle, then add the butter and begin working into the flour until a ball forms. Allow to rest a few minutes, covered.
Divide into three equal parts, leaving enough dough to form cross strips on top of the pie. Roll the three pieces of dough so that each fits a 9-inch pie dish.

For the grain
1 1/4 cup wheat berries
Peel from one orange
1/4 cup sugar
Soak the grain in water overnight, then drain. In a fresh pot of water add the wheat berries and the orange peel and bring to a boil. Cook 20 to 30 minutes then drain and discard peel. While still warm mix in the sugar.

For the pastry cream
2 large eggs
2 large egg yolks
1/2 cup sugar
4 Tbsp flour
1 cup milk
Whisk the eggs and egg yolks in a bowl, then whisk in the flour and sugar. Add the milk and whisk together, then transfer to a saucepan. Cook at low heat, stirring frequently, until mixture comes to a boil and thickens. Allow to cool.


For the filling
1 dozen large eggs
1 cup sugar
3 lbs. fresh ricotta
Zest from 1 orange
Pastry cream
Cooked wheat berries
Beat the eggs and sugar together in a mixer, then add the ricotta, orange zest and pastry cream until well blended. Turn off the mixer and fold in the wheat berries.

Pour the mixture into three 9-inch baking dishes, top each pie with strips of pastry dough, then bake for about an hour at 375 F.
Allow to cool thoroughly before eating.

Sunday, April 17, 2011

Trippa e fagioli


Sounds better in Italian, don't it?

It's tripe and beans.

You may commence to getting the hell out of here while the getting is still good. Nice chattin' with you.

Okay, to the three of you who are still with me, here is what went down. It was a rainy day and I was about to cook up a nice pot of bean soup, with the cannellini beans from my garden last summer (I froze a bunch while they were fresh out of the pods). Then I found myself on the phone, talking about how you see more tripe on restaurant menus these days (it's true, don't you think?), and, well, you know.

If you are of a mind to try this recipe, let me say two things. First, there was no recipe, I just played around and this is how things turned out. Second, things turned out really, really well. 

I'm glad I wrote everything down. Even if only the four of us care.

Tripe and beans
Recipe

4 lbs. beef tripe
1/4 lb. bacon (or pancetta), diced
1 lb. sausage meat
2 large carrots, diced
2 large celery stalks, diced
1 large onion, chopped
4 clove garlic, crushed but left whole
1 hot pepper or pepper flakes (optional)
1/2 cup dry vermouth or white wine
4 cups cannellini beans
12 cups chicken stock
Rind from Parmigiano-Reggiano cheese
Salt and pepper to taste

Rinse the tripe well then cover in water in a large pot and bring to a boil. Cook for about an hour, then drain and allow the tripe to cool enough to handle. Once it's cooled, cut into 1-inch pieces.
In a pot large enough to accommodate all the ingredients, brown the bacon, then add the sausage meat and brown it too.
Add the carrots, celery, onion, garlic and pepper and saute for around 10 minutes, then add the vermouth and cook until the alcohol evaporates.
Add the tripe, beans, stock, cheese rind (I used two thick hunks), salt and pepper and cook for an hour or so.

Monday, April 11, 2011

Peppers and eggs


I grew up behind the counter of my family's fountain service store. We made sodas by mixing together flavored syrup and seltzer water, malteds with hard ice cream and real malt, sundaes, frappes and, of course, egg creams. (A separate item on the iconic Brooklyn beverage is in the planning stage. First, and in order to prepare a proper egg cream, I must get to my friend Joe's house in the Hudson Valley, he being the keeper of a steady supply of real glass seltzer bottles and authentic U-bet chocolate syrup. But I digress.)

The store is where our neighbors (we lived right upstairs) sat in chrome stools while they talked and read newspapers and laughed and listened to the radio and, yes, fought hard with one another as neighbors will sometimes do. You did not so much spend your money when sitting at counters like this one; you spent your time, your life really. There are men for whom I poured coffee and served crumb buns and unwrapped fat cigars that were like uncles to me; the women who came by the store to collect these men — their men — were like aunts.

In the back of the store was a small apartment where my Uncle Joe lived. But once he got his own place, a block and a half away, my mother, after mourning the "loss" of her elder brother, reluctantly started using the kitchen to make sandwiches at lunchtime. This development was met with some enthusiasm in our tightly knit community, as my mother's cooking skills were both known to and appreciated by many.

Hers was a limited menu. There were meatballs (of course) and breaded and fried veal cutlets (served straight up or parmigiana); there was a pepper steak (also available with veal, my preference), an eggplant parm, and a sweet Italian sausage hero. People liked my mother's sandwiches. Lunchtime at the store just could not possibly have been any busier.

You might imagine that the meatball, or perhaps the sausage, would be the most popular in this small group of sandwiches. They were not. To those in our corner of Kings County, not even a perfectly prepared meatball, which my mother's most certainly was (just ask my cousin Big John, he'll tell you), could compete with the most iconic Italian-American sandwich of all: Peppers and eggs.

A simpler sandwich to prepare you will not find. Fry slices of peppers in some olive oil, toss in a couple eggs after the peppers have softened, a little salt and pepper, then mix it all up and into your bread of preference it goes. (You must agree that the demi baguette is the perfect sandwich bread, it having not one but two crunchy ends to enjoy.)


See? So simple that it is hardly worth even writing about.

Apologies. I will attempt something more challenging the next time. Maybe.

Monday, April 4, 2011

Polenta lasagne


Polenta? Check.
Meat sauce? Got it.
Oven pan? Right over here.

Talk about your no-brainers.

Make some of this, would you. Thank me later.


It all starts with a good-quality base. I know some people swear by the instant stuff, but I always go with the real deal, a good Italian polenta that takes time (half an hour at least) and patience (constant and uninterrupted stirring) to cook properly. Here you have two cups of the stuff, which is mixed with eight cups of well-salted boiling water.


My ancestors are no doubt rolling over this, and I myself may go to Hell because of it, but I use a whisk for stirring polenta, not the sacred wooden spoon that generations of polenta makers have relied upon. The whisk just works better, okay. Somebody had to say it.


When the polenta is done, pour it onto a flat surface. I used a cutting board, which first got a light coat of olive oil to prevent sticking.


While it's still hot, spread the polenta so that it's evenly dispersed, then allow it to cool.


Everybody has their own idea about what makes a good meat sauce. I have several ideas. This one's got ground beef, shredded pork, pancetta and a little sausage meat. Oh, and tomatoes, garlic and some onion. But you knew that.


All that's left to do now is start layering, just as you would with any lasagne. Layer of sauce on the bottom, slab of polenta, like that.


In the middle and on top I run a cheese grater (with Romano here) over the meat sauce. (There's no ricotta or mozzarella in this version, but I would not stop you from adding it to your own.)


After about an hour or so in the oven (at 350 F), the first forty minutes covered in aluminum foil, you have got yourself one extraordinarily satisfying "lasagne." Even if it's really polenta.

And don't forget to wait awhile before cutting into the thing. It doesn't need to rest as long as a real lasagne, but fifteen or twenty minutes wouldn't hurt.

What, you're in a hurry?

Saturday, April 2, 2011

The lost limoncello


It's just amazing how much you can forget.

After years of toying with the idea of getting a spare refrigerator/freezer for the basement, the deal finally got done a couple years back. Except things keep getting lost in there. Like the fruitcake I was supposed to douse with bourbon every month or so in order to keep moist. Or the authentic mincemeat that a certain New Englander of my acquaintance just had to make a whole freaking mess of.

Then there is the homemade limoncello. How I missed that in there, well, I really cannot say.

The 'cello was manufactured in the pre-blog days, which is to say that I have no photographs of lemons and sugars and bottles of vodka lying about. Use your imagination.


The two bottles you see here are what's left of a batch that netted around six, if memory serves. They will likely disappear quickly now that they have been unearthed, and so another batch might well be in the pipeline this summer.

For now, though, here is the recipe, should you be interested in giving it a try.

Cent'anni!

Limoncello
Recipe from Imbibe
The full recipe, with photos and more detailed instructions, can be found at the magazine's website.

Ingredients
2 750-milliliter bottles of 100-proof vodka
2 cups water
2 cups sugar
Zest from 12 lemons

Place the zest in a glass jar and add one bottle of vodka. Seal tightly for two weeks.
Strain through cheesecloth into a clean jar or bowl, then add the second bottle of vodka.
Combine the sugar and water in a saucepan over medium heat and stir until the sugar is dissolved and the syrup just comes to a boil. Remove from heat and let cool.
Add the syrup to the infused vodka.
Pour the limoncello into sterilized bottles, seal and let rest at least a week.